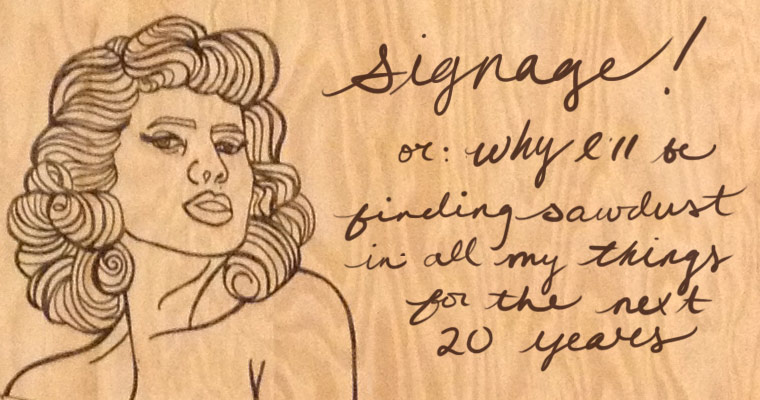
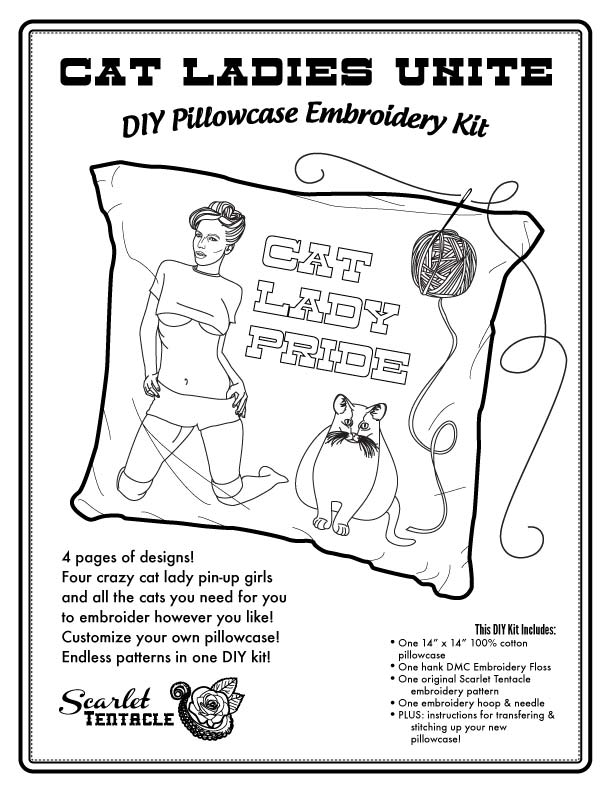
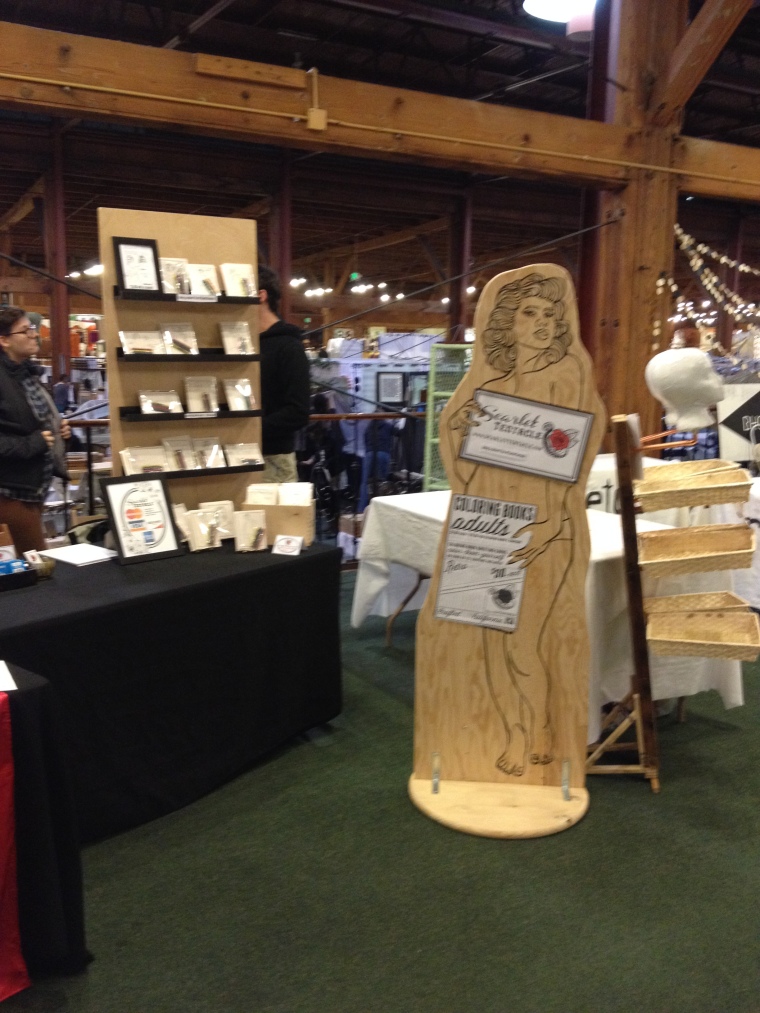
Hello and welcome to this edition of Scarlet Tentacle’s Ye Olde Pin-Upe Woodshoppe, in which I will share in exhaustive detail how to construct a nearly 6 foot tall wooden automaton constructed out of plywood, ink, sweat, tears, acetone and unicorn hairs. I know! It’s everything you never knew you wanted!
 Step one, not pictured: wander around the local Home Depot looking for appropriately textured wood and realize that eight feet by four feet of materials — be it plywood, MDF, particle board or that really excitingly shiny insulation wood substitute — are not going to fit into my relatively tiny car, no matter how much I push and shove. Make lots of ‘That’s What She Said’ comments and text your friends about how you’re channeling A-Camp and Handy Jobs with Marni and then proceed to have lots of feelings about Mount Feelings.
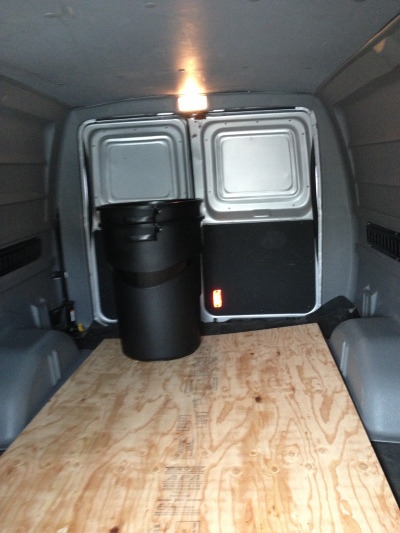
Step two: rent a giant van that has no rear view mirror, painted-over windows and beeps when you back it up. Make multiple comments about Home Depot, U-Hauling and wood. Pretend that you’re Chase from the Runaways, driving your non-descript van around Los Angeles to fight your supervillan parents. Also, for the record: eight feet by four feet of wood is a whole lot of wood, and it will fall over onto your head and give you splinters in places that you would not have guessed splinters would be able to access.

After dropping the board on your head a bunch of times and locking your partner out of your house by setting up your eight foot by four foot board against the front door of your too-small-for-giant-wood living room, proceed to find that all your fancy plans for the project are not going to work! Hooray! Maybe drink some whiskey and step away from the power tools for a while.
So yeah, transferring the pattern onto the wood was intensely more complicated than I’d anticipated — originally I’d planned to rig up a projector using a Fresnel lens & was going to just trace the projected image onto the wood, but that didn’t work out because the internet lies, so I found myself at three different hardware stores in one day scrambling to find first CitriSolv & then acetone, neither of which ultimately worked, though one left my test scraps smelling pleasantly like citrus, and the other left my yard smelling like I’d gone on a nail polish removal binge to end all nail polish removal binges. Also, all of my patio is now more flammable than ever before, thanks to the gallon of chemically horrors that did not actually transfer the laser printer toner onto the wood. Did I mention that the internet, especially the DIY section of Pinterest, lies?
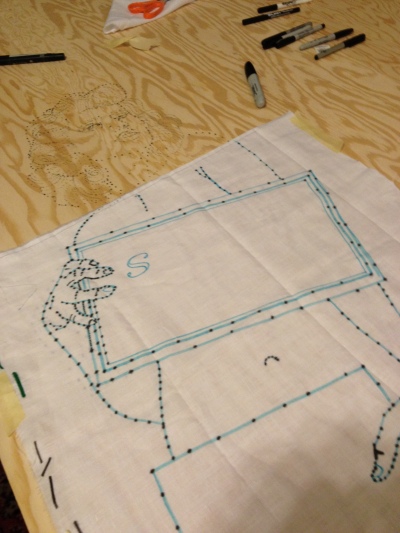
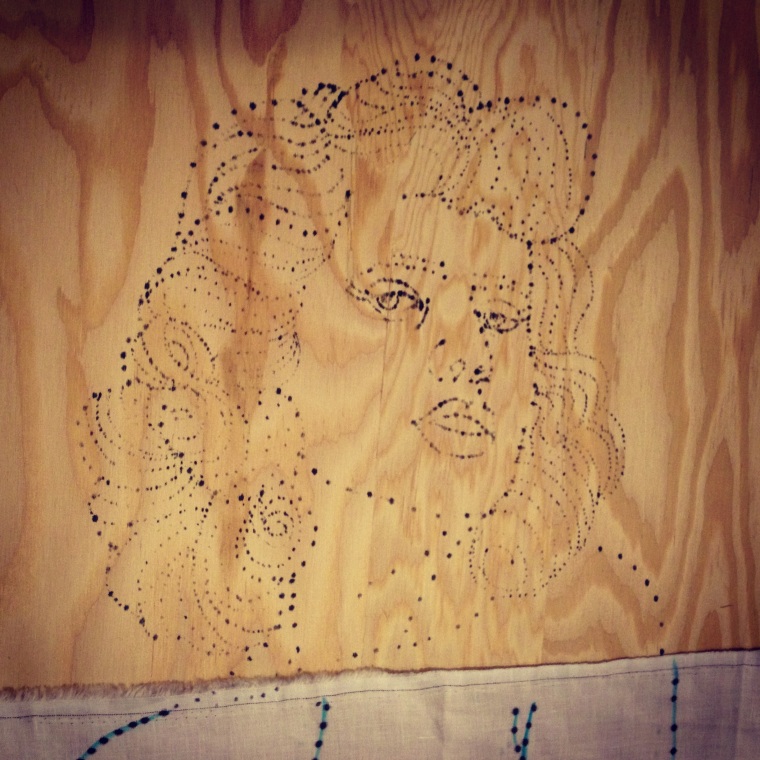
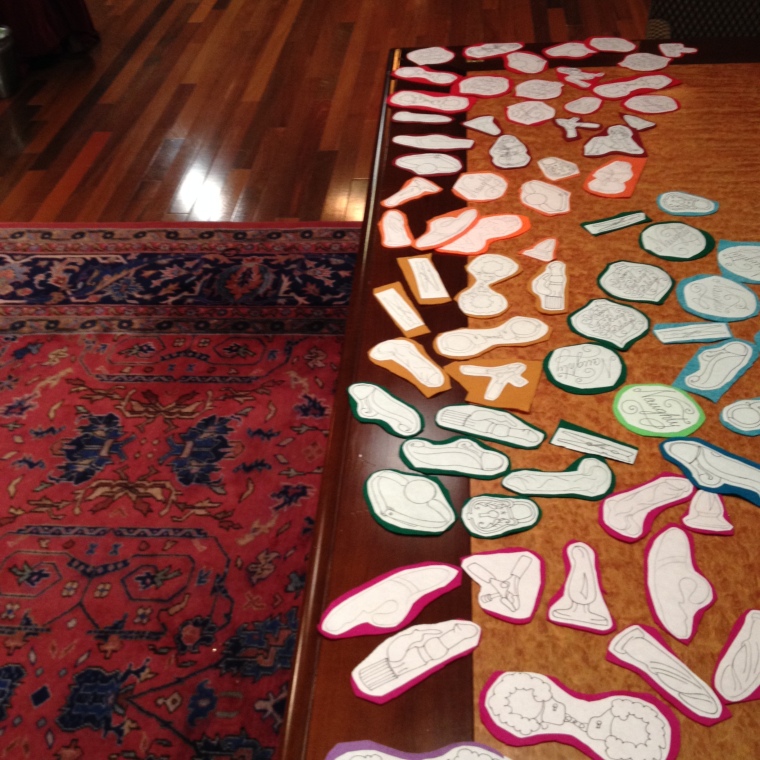
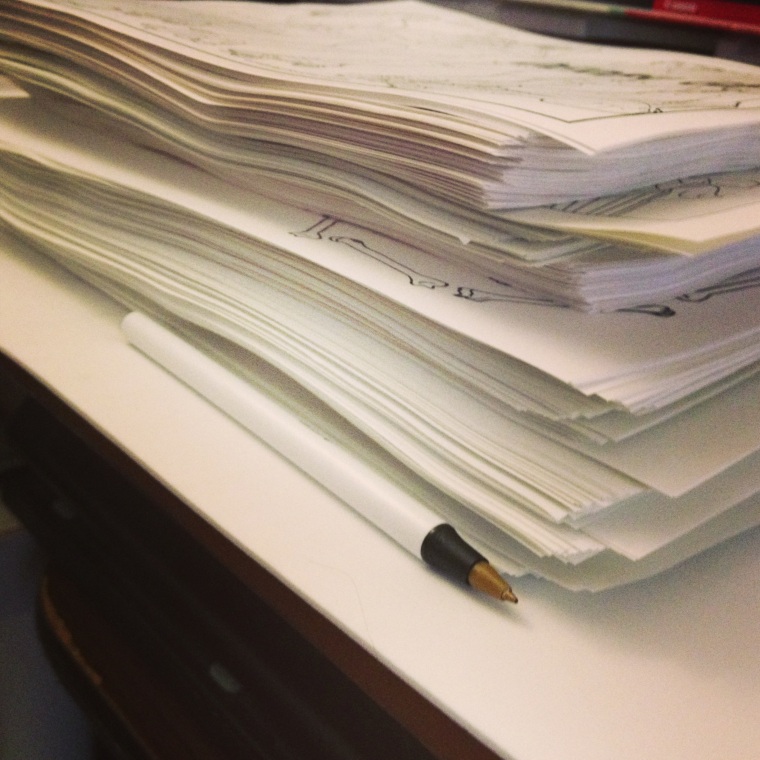
I finally resorted to playing connect the dots in a manner somewhat resembling screen printing — first I printed out the almost 6-foot tall pattern, painstakingly pieced the paper together to make a full-sized pattern, then shoo-ed my inquisitive pets off of what they thought was a new cat tree. Next, I raided my fabric stash to find the flimsiest length of cotton muslin possible , taped the pattern and the fabric onto the wood, then traced the pattern onto the fabric. I then removed the paper pattern from underneath the fabric and then re-traced the image onto the wood through the fabric by letting the ink bleed through the fabric in the form of a million-billion tiny dots.
If you are following along with this craziness at home, please learn from my mistakes: don’t do this at 2am, take frequent breaks to rest your hand and for the love of Lesbian Jesus, shut your cats in another room so that you don’t upend the giant slab of wood in fright when your cats jump onto your workspace & wake up your partner by shouting “FISH TITS!!!” at the top of your lungs.
Next: Instagram that shit.
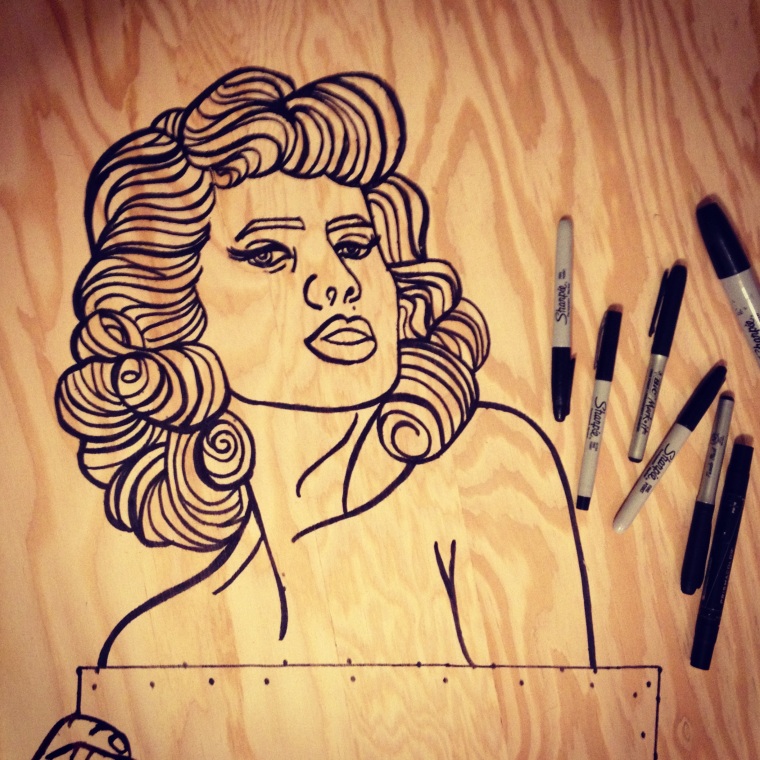
Now that you have approximately six feet by three feet of tiny dots on wood, it’s time to punish your neck, your back by inking in the lines between dots. Maybe watch an episode or two of Pretty Little Liars and The Good Wife while you’re doing this and be rather glad that you don’t live in Rosewood or the upper echelons of Chicago political society, because neither A nor Peter Florrick would not stand for you taking time to make a giant wooden pin-up girl sign.
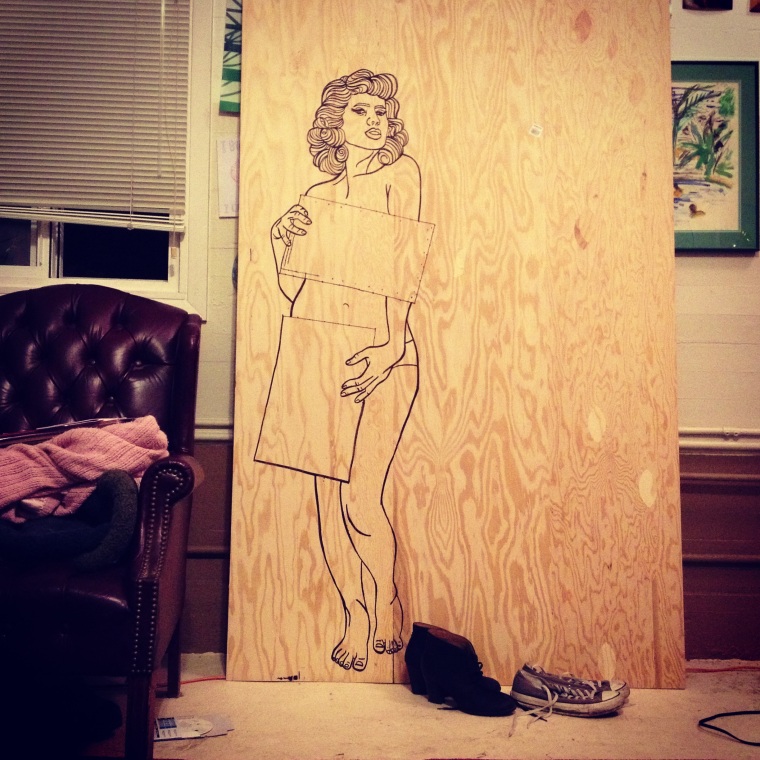
Step back and feel pretty proud of yourself — this doesn’t look half bad, does it? Take some more photos with your shoes for scale and put them on the internet.
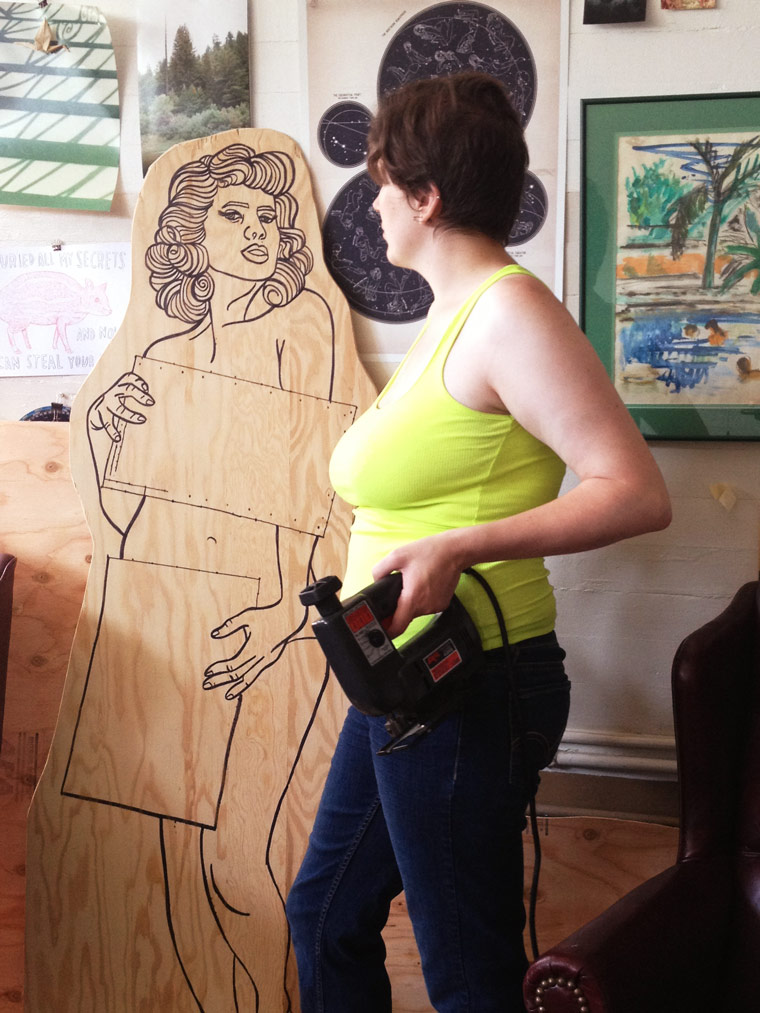
Make the sound decision to not use a jigsaw at 5am after staying up all night playing connect the dots, then set up your makeshift sawhorses in your living room again. Nothing could go wrong with this plan!
Assemble your safety gear: eye protection (welding googles work surprisingly well for this, FYI), close-toed shoes, a long sleeved shirt and maybe ear plugs, because wow, cutting 1″ thick plywood with a jigsaw is really, really loud. Bonus points if your long sleeved shirt is rainbow plaid and you are wearing a pencil skirt instead of pants #tomboyfemmeforever.
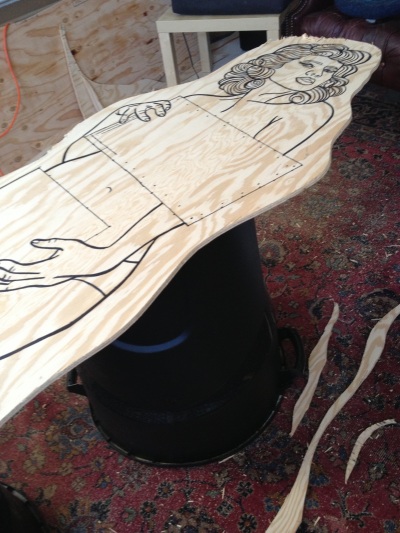
Cut the wood. Power tools are so much fun!
Spend twice as much time vacuuming up the wood bits as you did actually cutting the sign, which are now scattered across all rooms & objects adjacent to the wood-cutting location, including but not limited to the kitchen, kitchen sink, dishes on the drying rack, bathroom floor, interior of the electric tea kettle and the bristles of your tooth brush.
Take a photo of yourself holding a non-plugged-in jigsaw, staring dreamily at the almost six-foot-tall wooden sign you have made mostly for the fuck of it. Spend a lot of time wondering if that’s what the back of your head looks like to the folks that can see it. Rub more aloe on the nasty sunburn you acquired at the SF Dyke March.
For an authentic Kira Scarlet/Scarlet Tentacle wooden sign-making experience, spend lots of time looking at nearby carpentry classes because hot damn, working with power tools & wood is super fucking fun.
Next, get out your power sander. Power sand the shit out of your sign while wearing protective eyewear. Keep your mouth closed; sawdust tastes exactly like sawdust ought to taste.
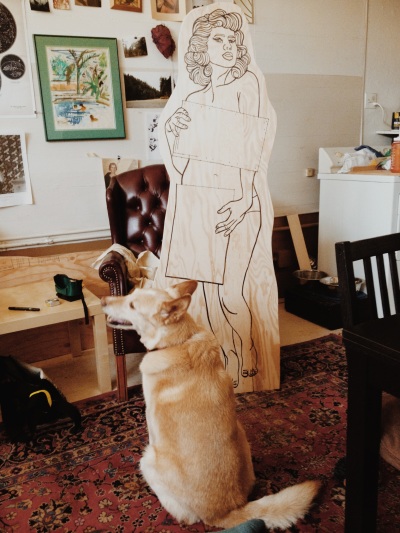
Optional: take a picture of your dog & pretend that your sign is so awesome that even Igor approves.
So there’s that: all the exhaustive details of my progress so far on this almost six foot tall sign in progress.
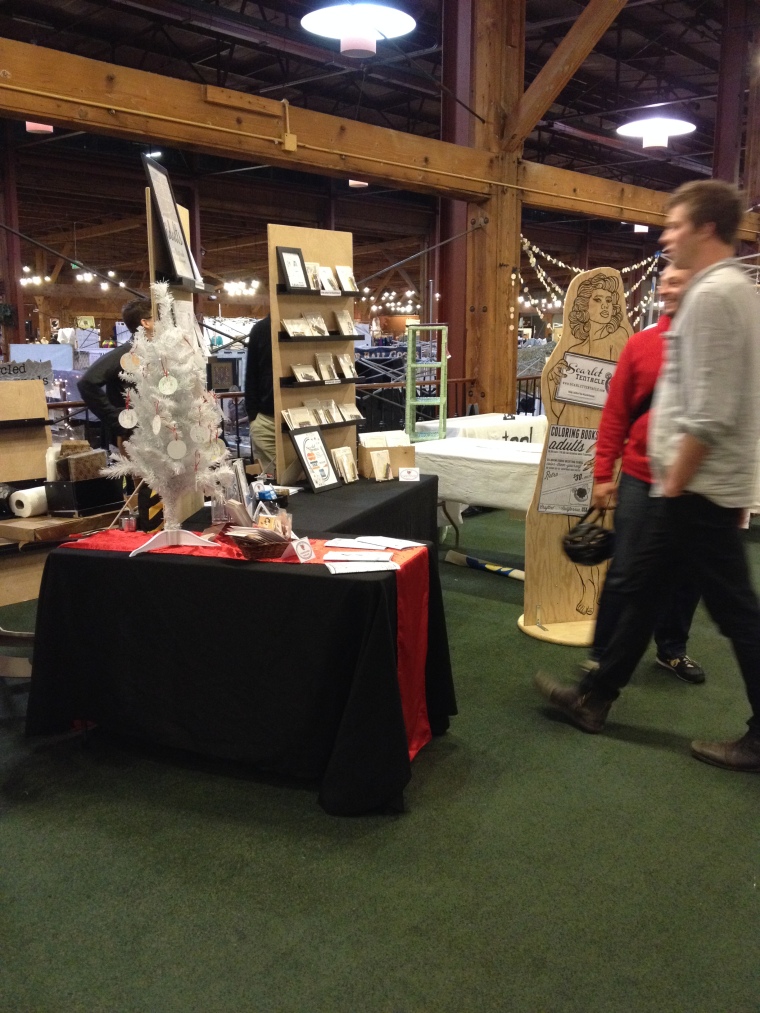
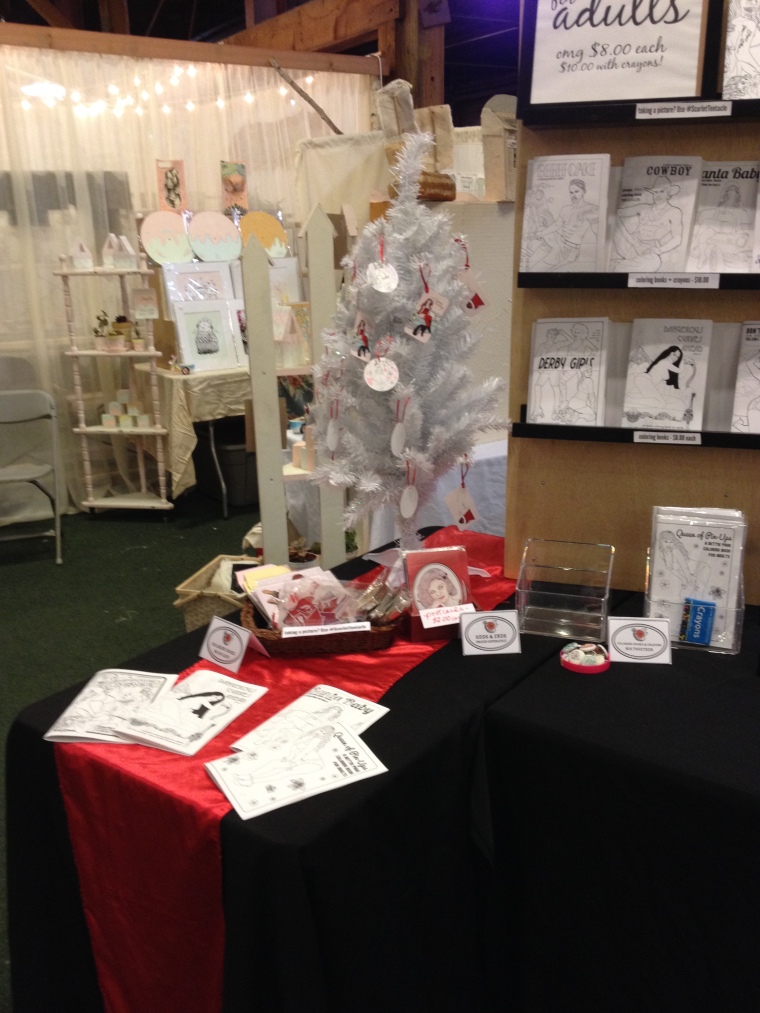
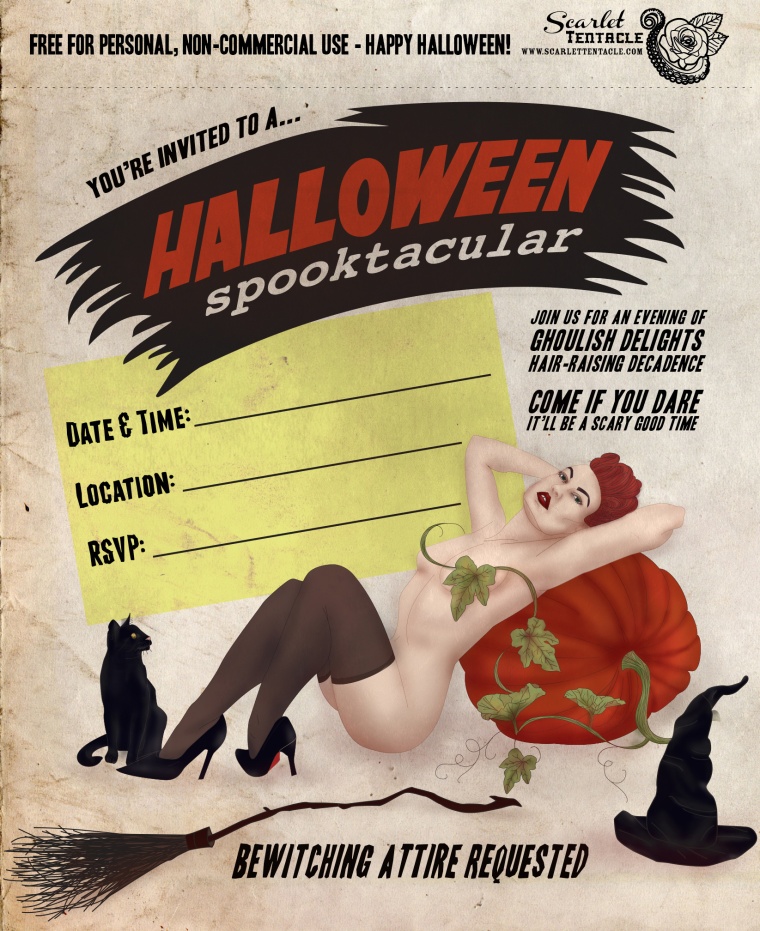
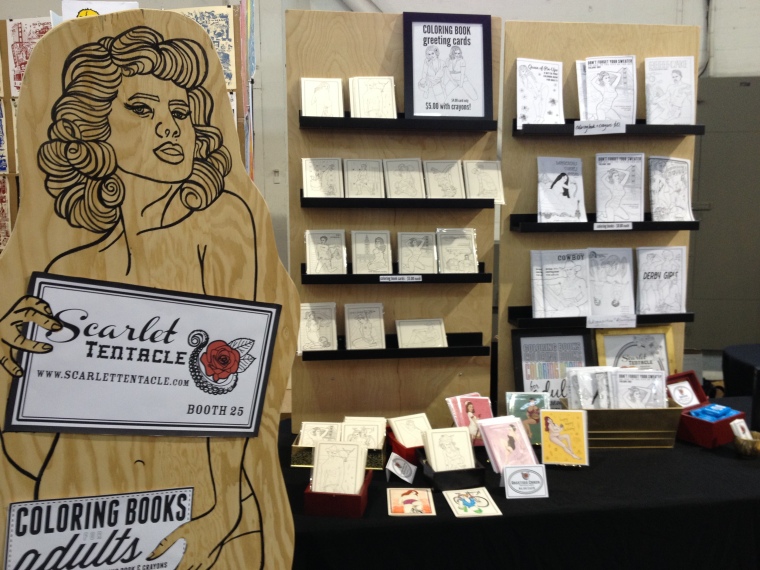
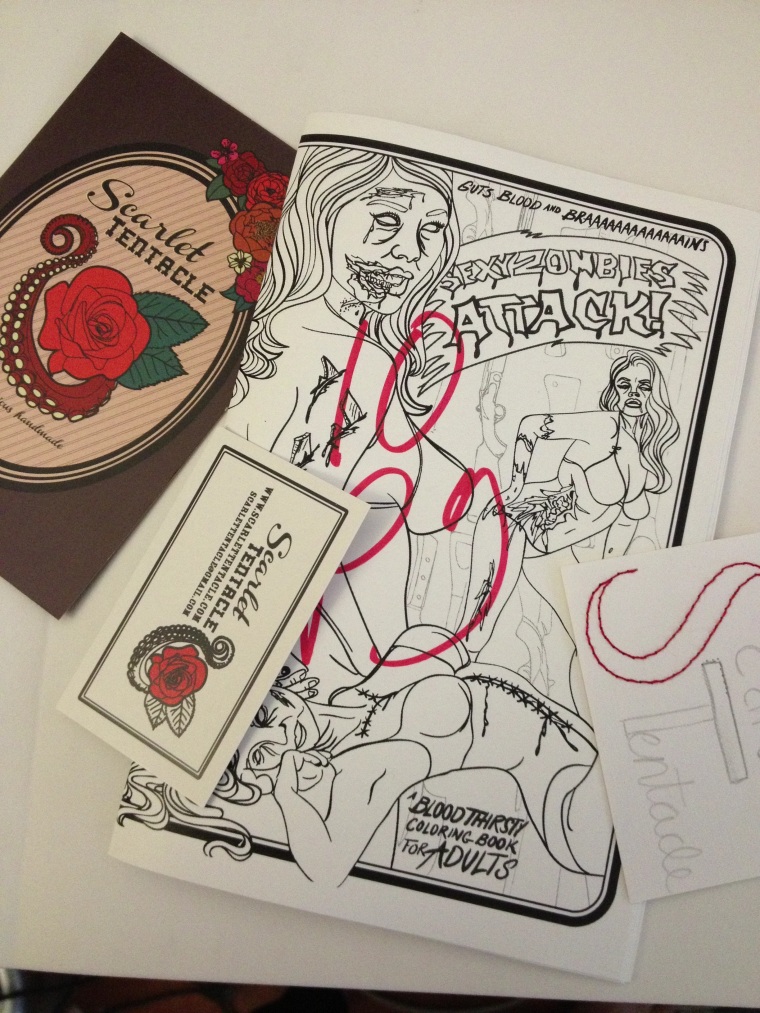
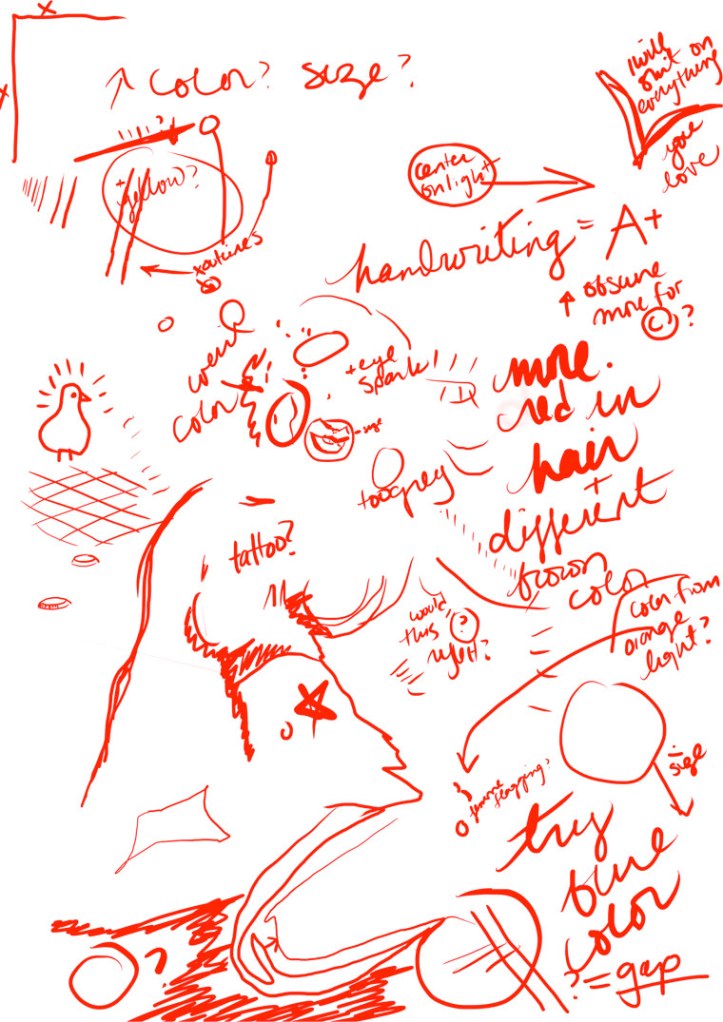
My next step is to complete the base of the sign so it can stand by itself & not be knocked over accidentally in a crowded fair like Renegade Handmade at Fort Mason on July 27th and 27th (hint hint). After that I’ll finish the internal signs — they’ll have the Scarlet Tentacle logo and some price call-outs — then I’ll figure out whether or not it needs any spot colors — maybe red for the lips and the logo — and then I’ll finish sanding the edges of the sign down much more and will the be able to seal the front with varnish and cart it around with me to craft fairs for folks to admire.


